Visual Studio Code basics
Visual Studio Code is a lightweight source code editor available for Windows, macOS, and Linux. It's a useful tool for editing Markdown, HTML, and other documents.
Setup#
To install Visual Studio Code on your desktop computer, follow these steps:
- Go to the Visual Studio Code download page.
- Download an installation file appropriate for your operating system.
- Once downloaded, execute the file and follow the instructions displayed in the setup assistant.
Basic layout#
The Visual Studio Code user interface is divided into five areas.

- Editor: the main area where you edit your files.
- Side bar: an area containing different views such as the Explorer.
- Status bar: information about the current project.
- Activity bar: a set of icons that let you switch between views.
- Panels: debug information, errors and warnings, an integrated terminal, etc.
For a detailed description of the respective areas, go to Visual Studio Code documentation.
Searching for features#
If you want to search for a particular Visual Studio Code feature, press Ctrl+Shift+P and start typing.
Rendering whitespace#
To display whitespace characters in the editor, go to View > Render Whitespace.
Suggestions#
When working in the editor, you can display a list of suggestions by pressing Ctrl+Space.
Previewing Markdown files#
To open a preview of your Markdown file, click  in the top right-hand corner of the editor.
Document outline#
To display an outline of your document, click Outline on the Side Panel.
Installing extensions#
Visual Studio Code lets you browse and install numerous extensions from within the program. To install a new extension, do the following:
- Go to View > Extensions.
- Start typing and choose an extension from the list.
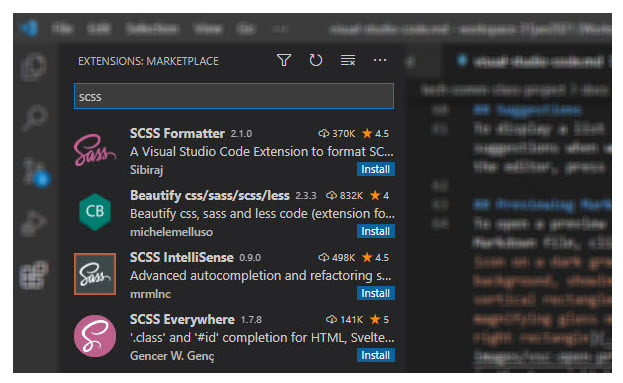
- Click Install.
Markdown All in One#
The Markdown All in One extension provides helpful features for working with Markdown-based documents.
Setup#
To install the Markdown All in One extension, follow these steps:
- Go to View > Extensions.
- Type "Markdown All in One" and choose the extension from the list.
- Click Install.
Formatting a document#
If you want to quickly format your Markdown document using the Markdown All in One extension, press Ctrl+Shift+P and type "Format Document".
Generating a table of contents#
To generate a table of contents, do the following:
- Go to the location in the document where you want to add the table of contents.
- Press
Ctrl+Shift+Pand type "Create Table of Contents".
Note: If you make changes to your document structure and need to update the table of contents, press Ctrl+Shift+P and type "Update Table of Contents".